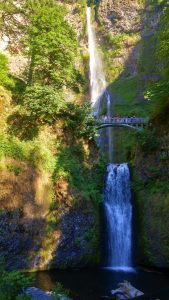
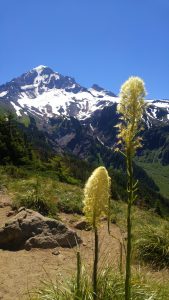
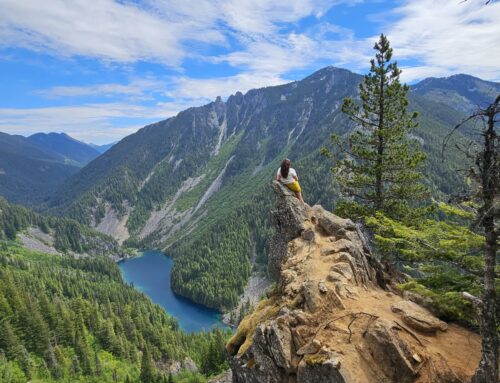
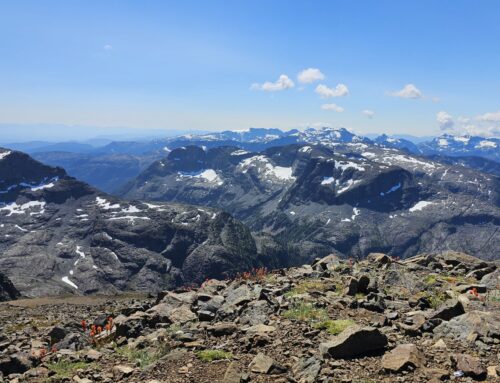
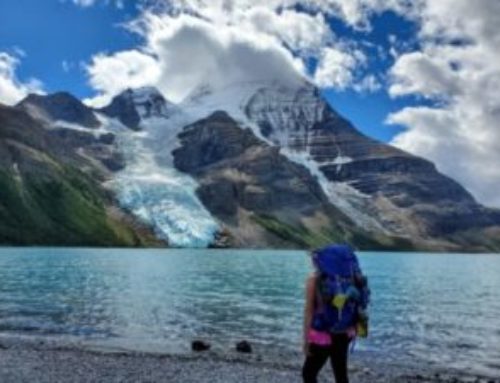
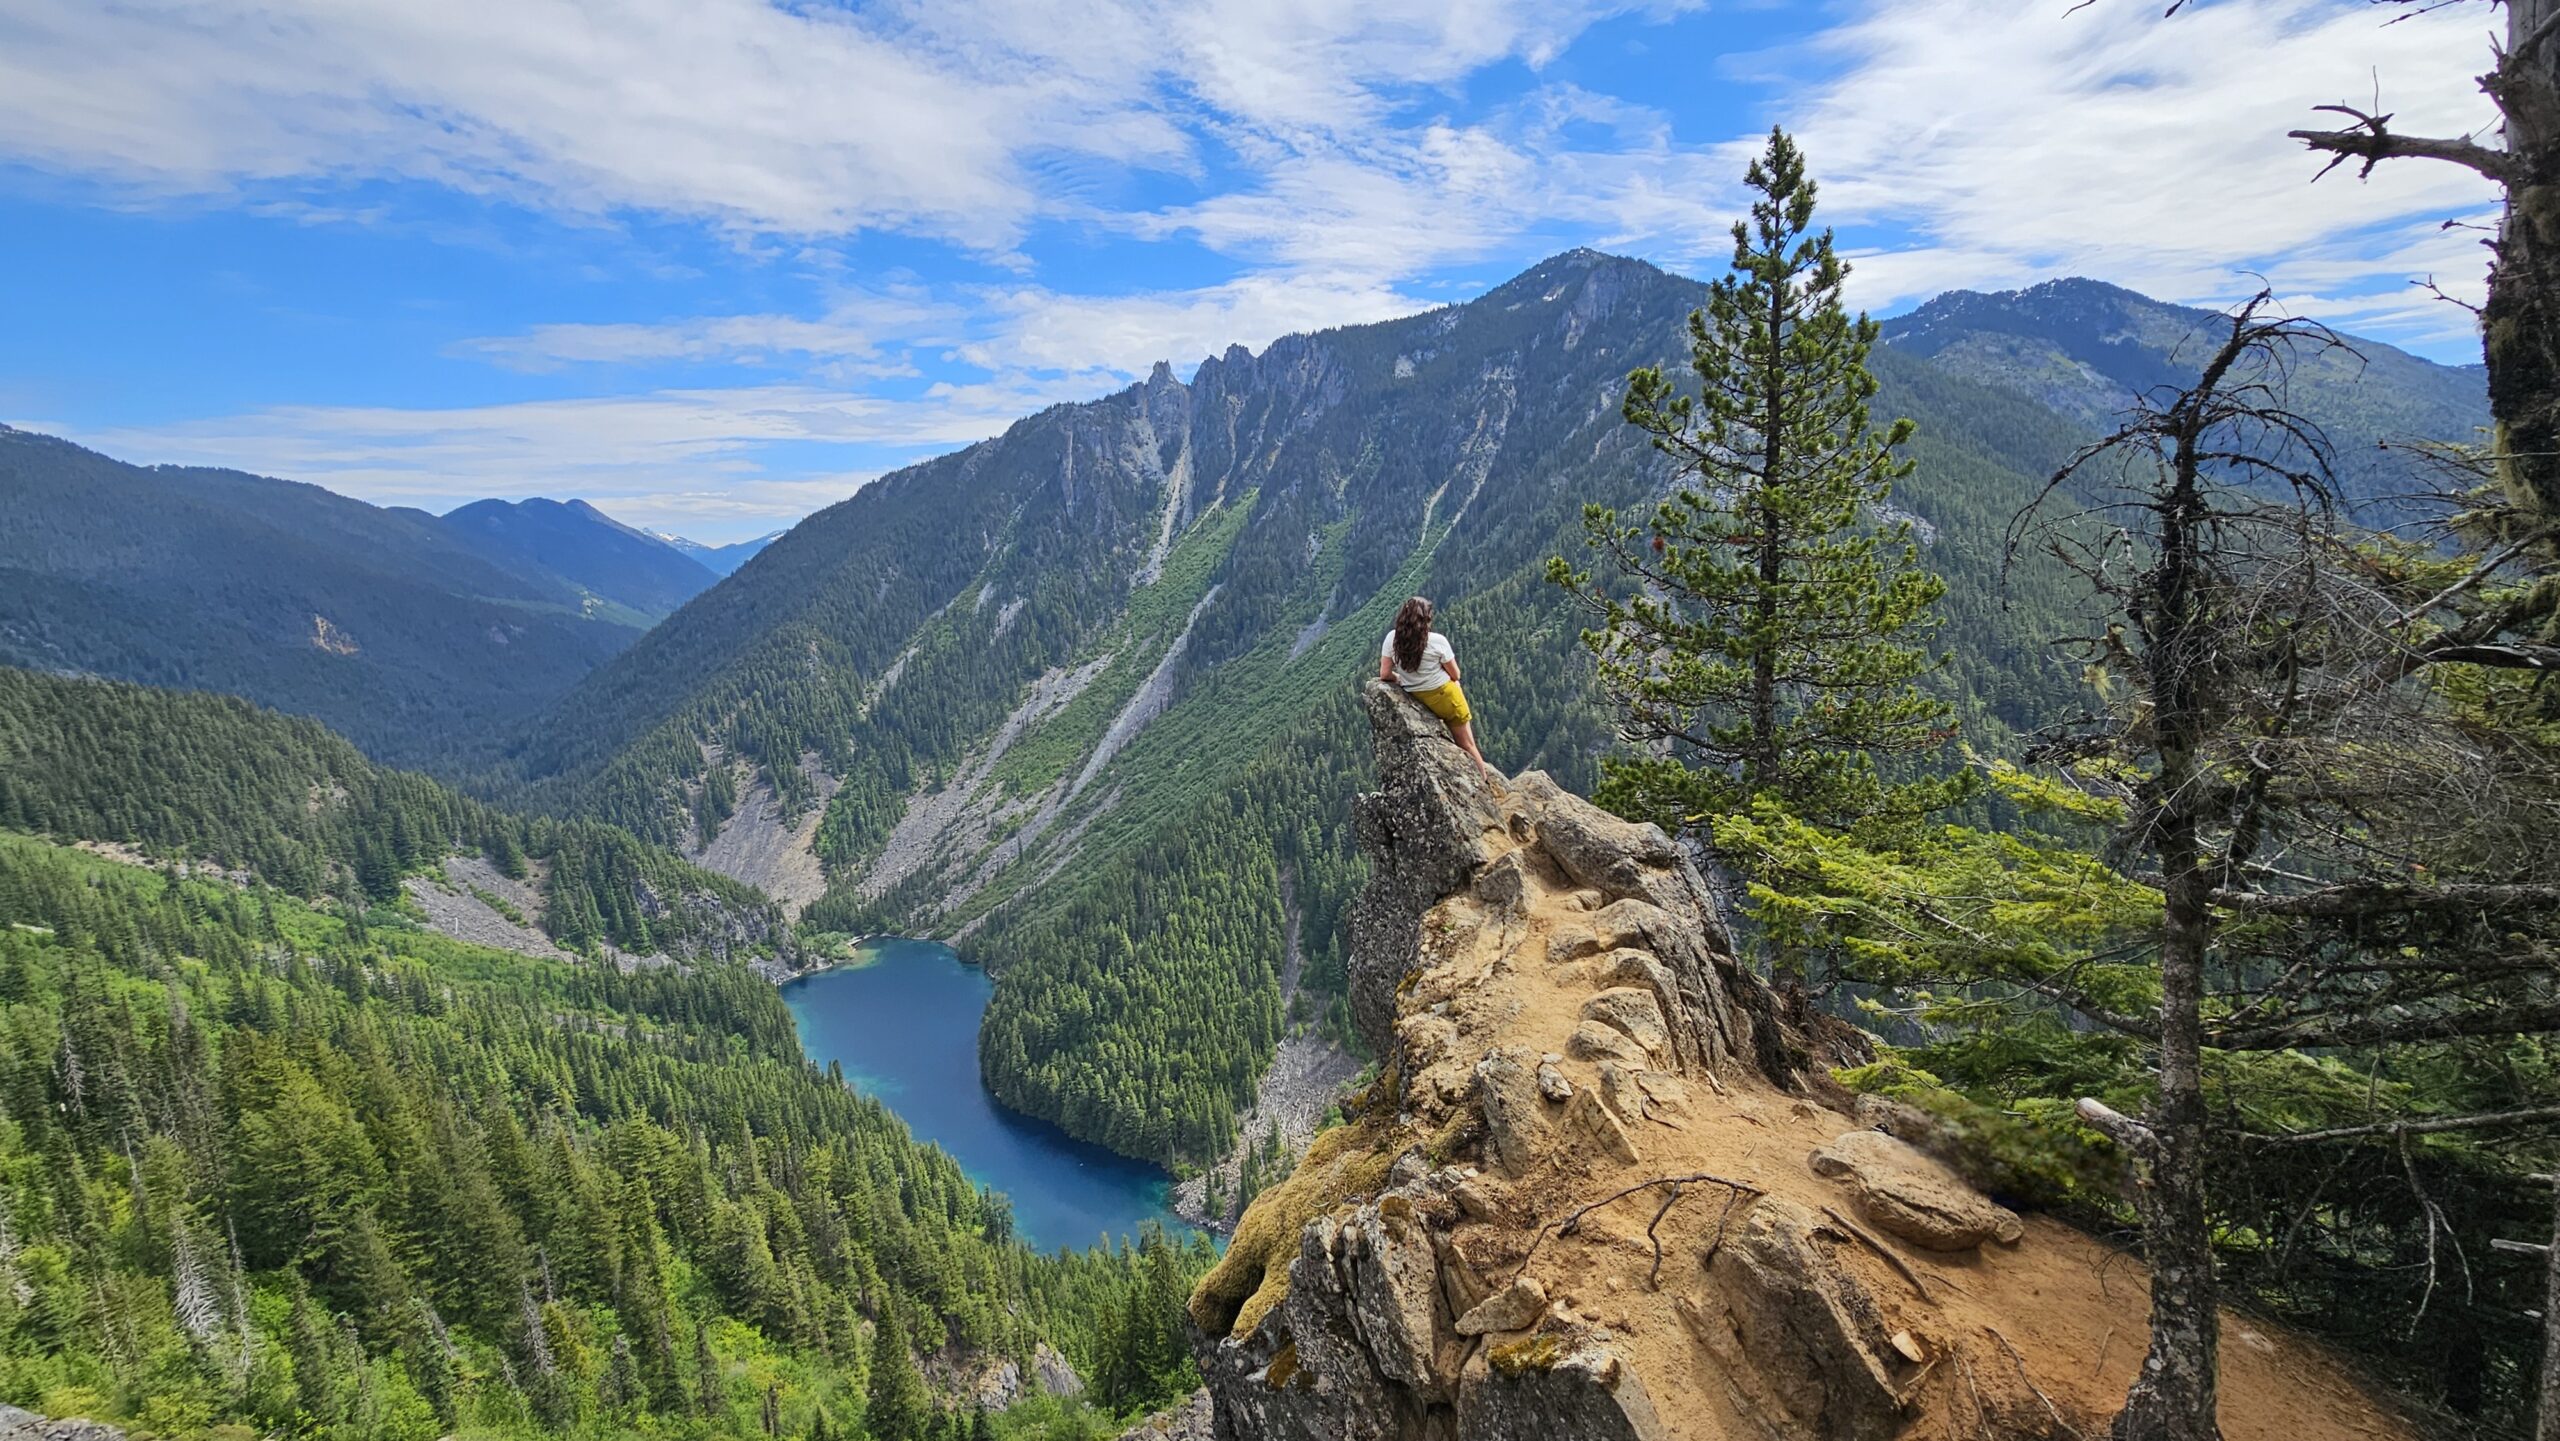
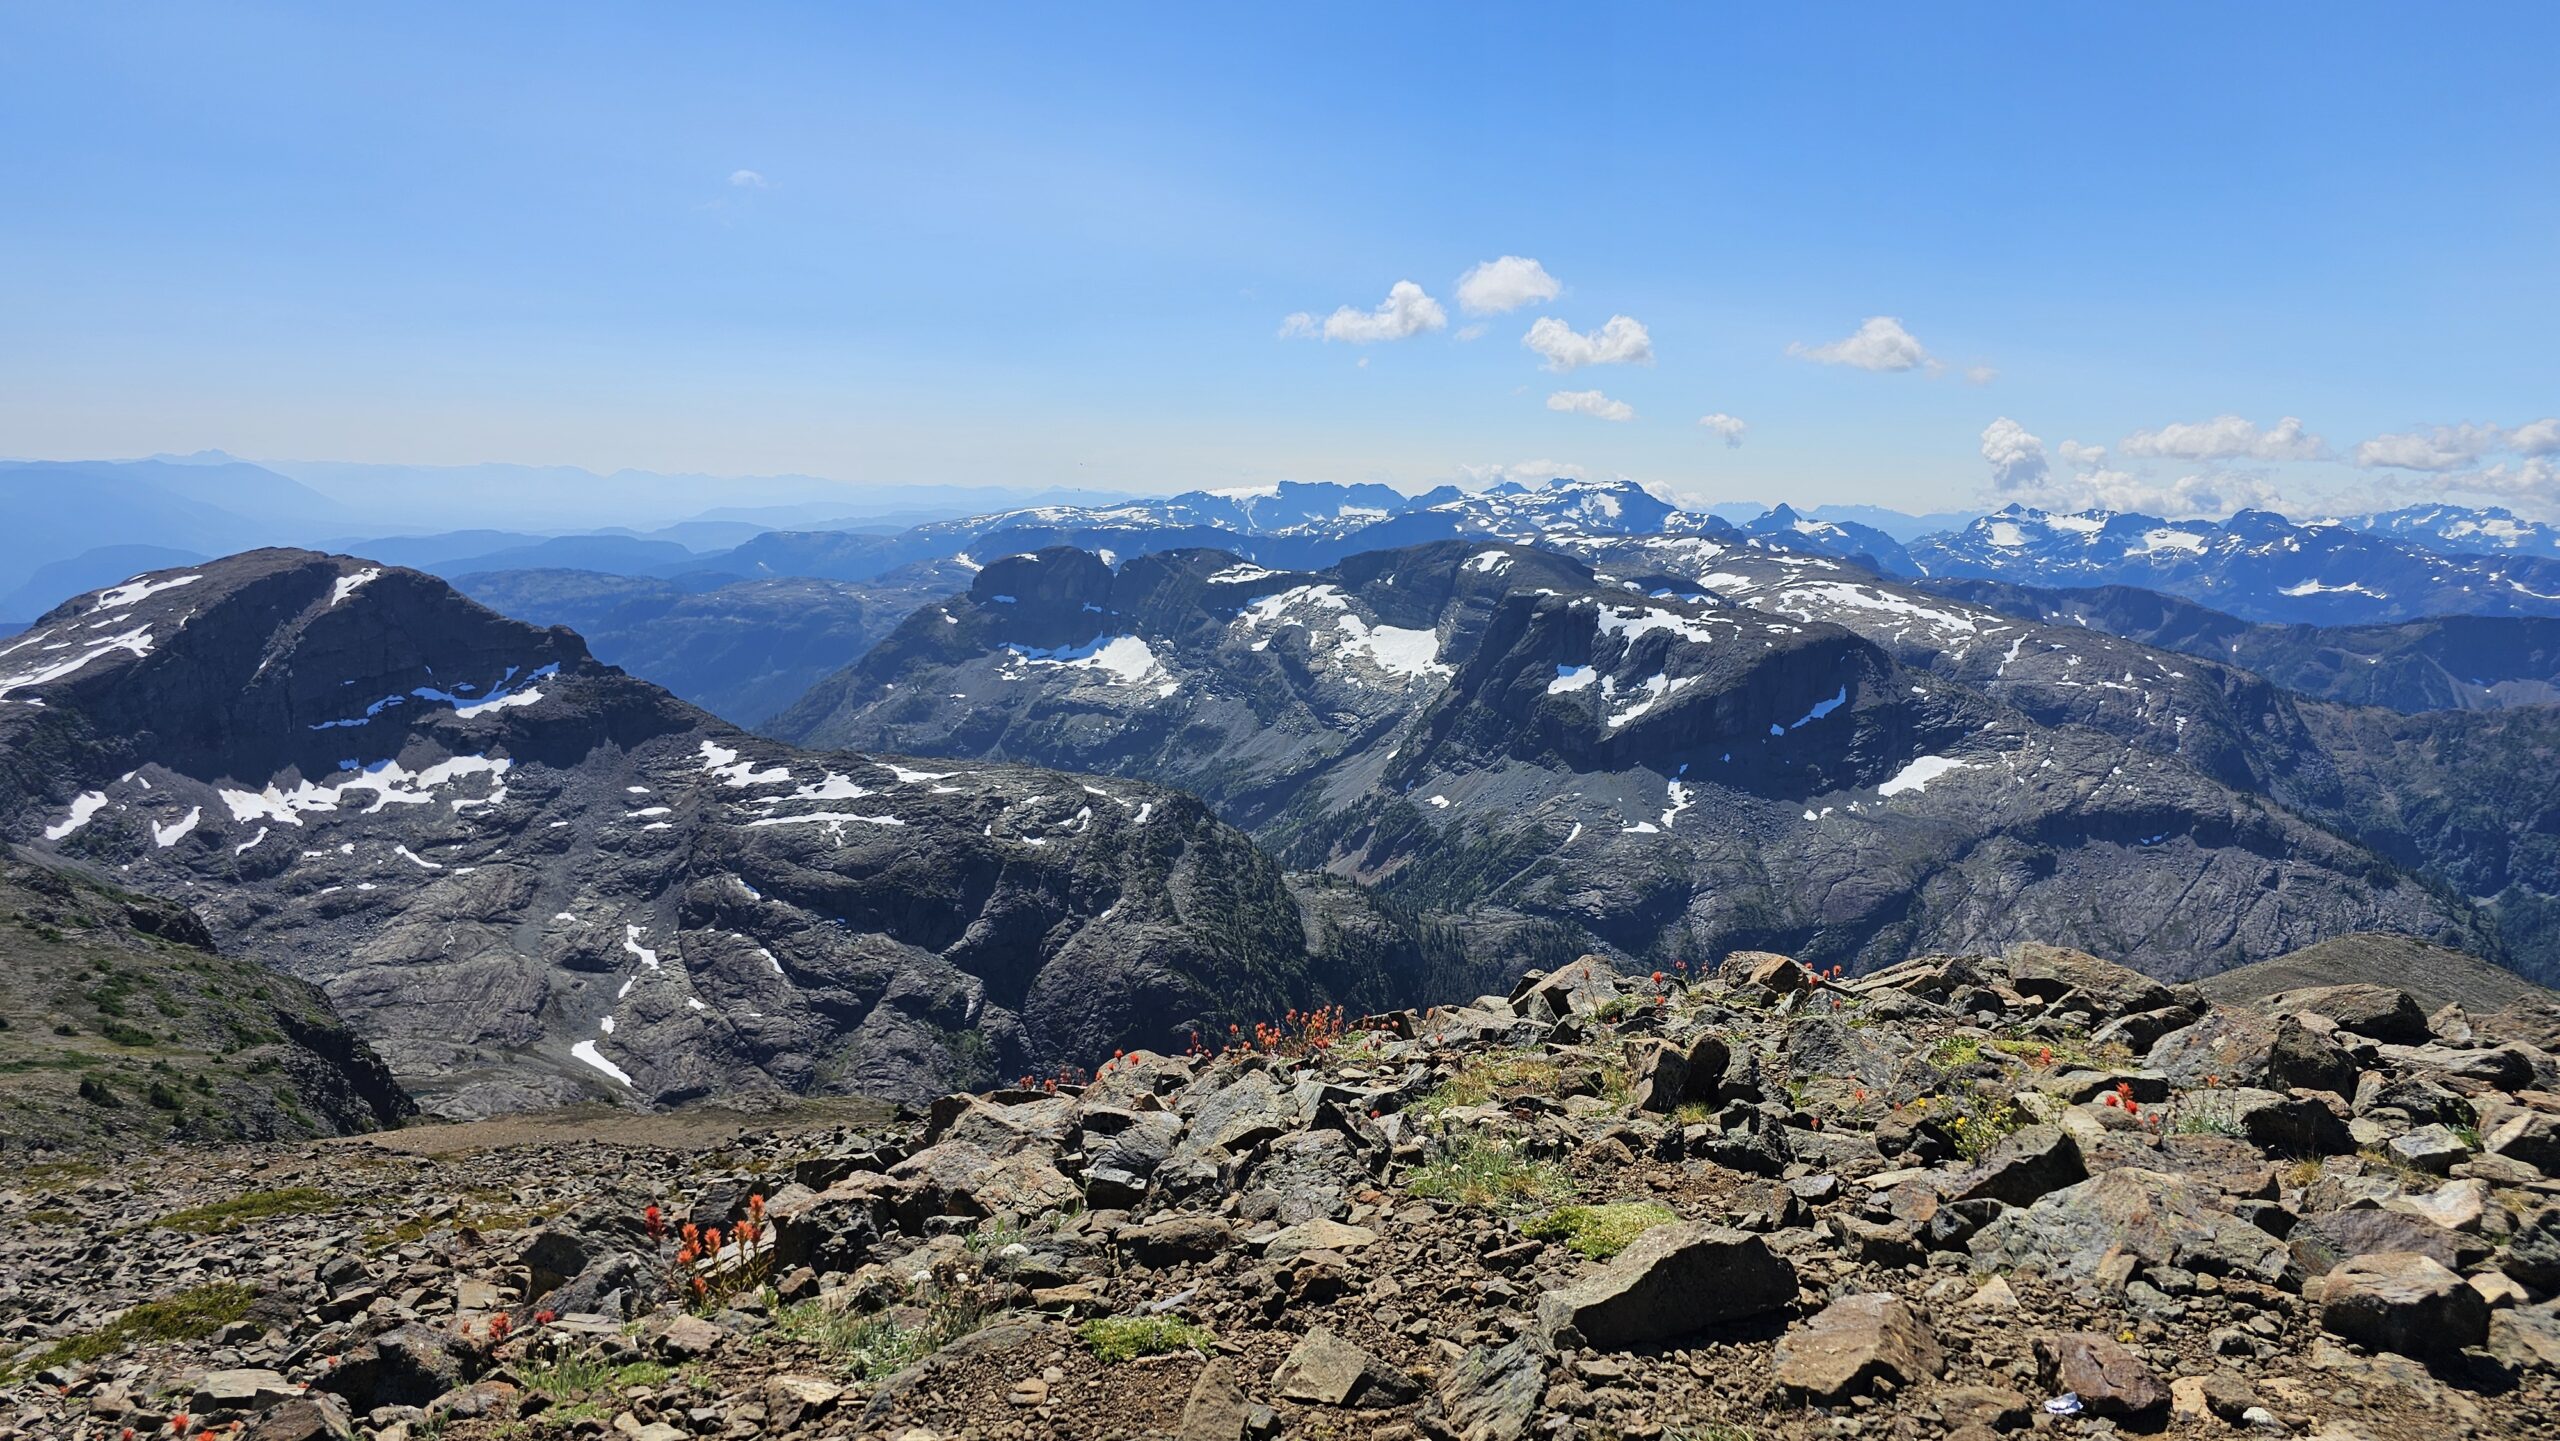
 Early summer is my favourite time of year. The weather is still changing, so there is enough rain and cloud to make you fully appreciate each blessedly sunny, hot day. Not to mention that the wildflowers are out in full force, and the mountain streams are raging. It’s the time of year for trip planning, for marking off days on your calendar for chances to explore. This is the beginning of backpacking season, and we’ve waited through an oh-so-long flu season to reach it! But if you’re new to backpacking, you might find that this idyllic picture sometimes comes with a whole lot more rain and blisters than you envisioned during your initial planning. To spare your poor back and feet, I’ve put together a list of packing tips for an overnight hiking trip. Read on, and learn through my bitter experience!
1. Keep a packing list
Topping my list of packing tips for an overnight hiking trip is to keep and modify your own packing list. This will save you two kinds of headaches: one, missed items on your trip, and two, having to start from scratch for your next trip. I keep a file on my computer with different lists for different style trips (ex: overnight hiking, extended multi-day, kayaking, winter camping, etc.).
To make proper use of your list, cross off items only once they’re actually in your bag. After the trip, update your list with your lessons learned by removing items that you didn’t need, and adding things you wished you had. After a few trips, you’ll have a list completely dialed in to your specific wants and needs and ready for reference for your next trip.
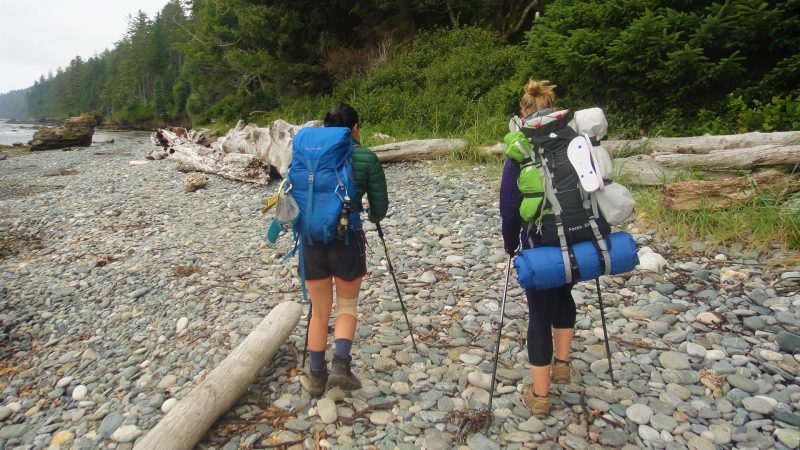
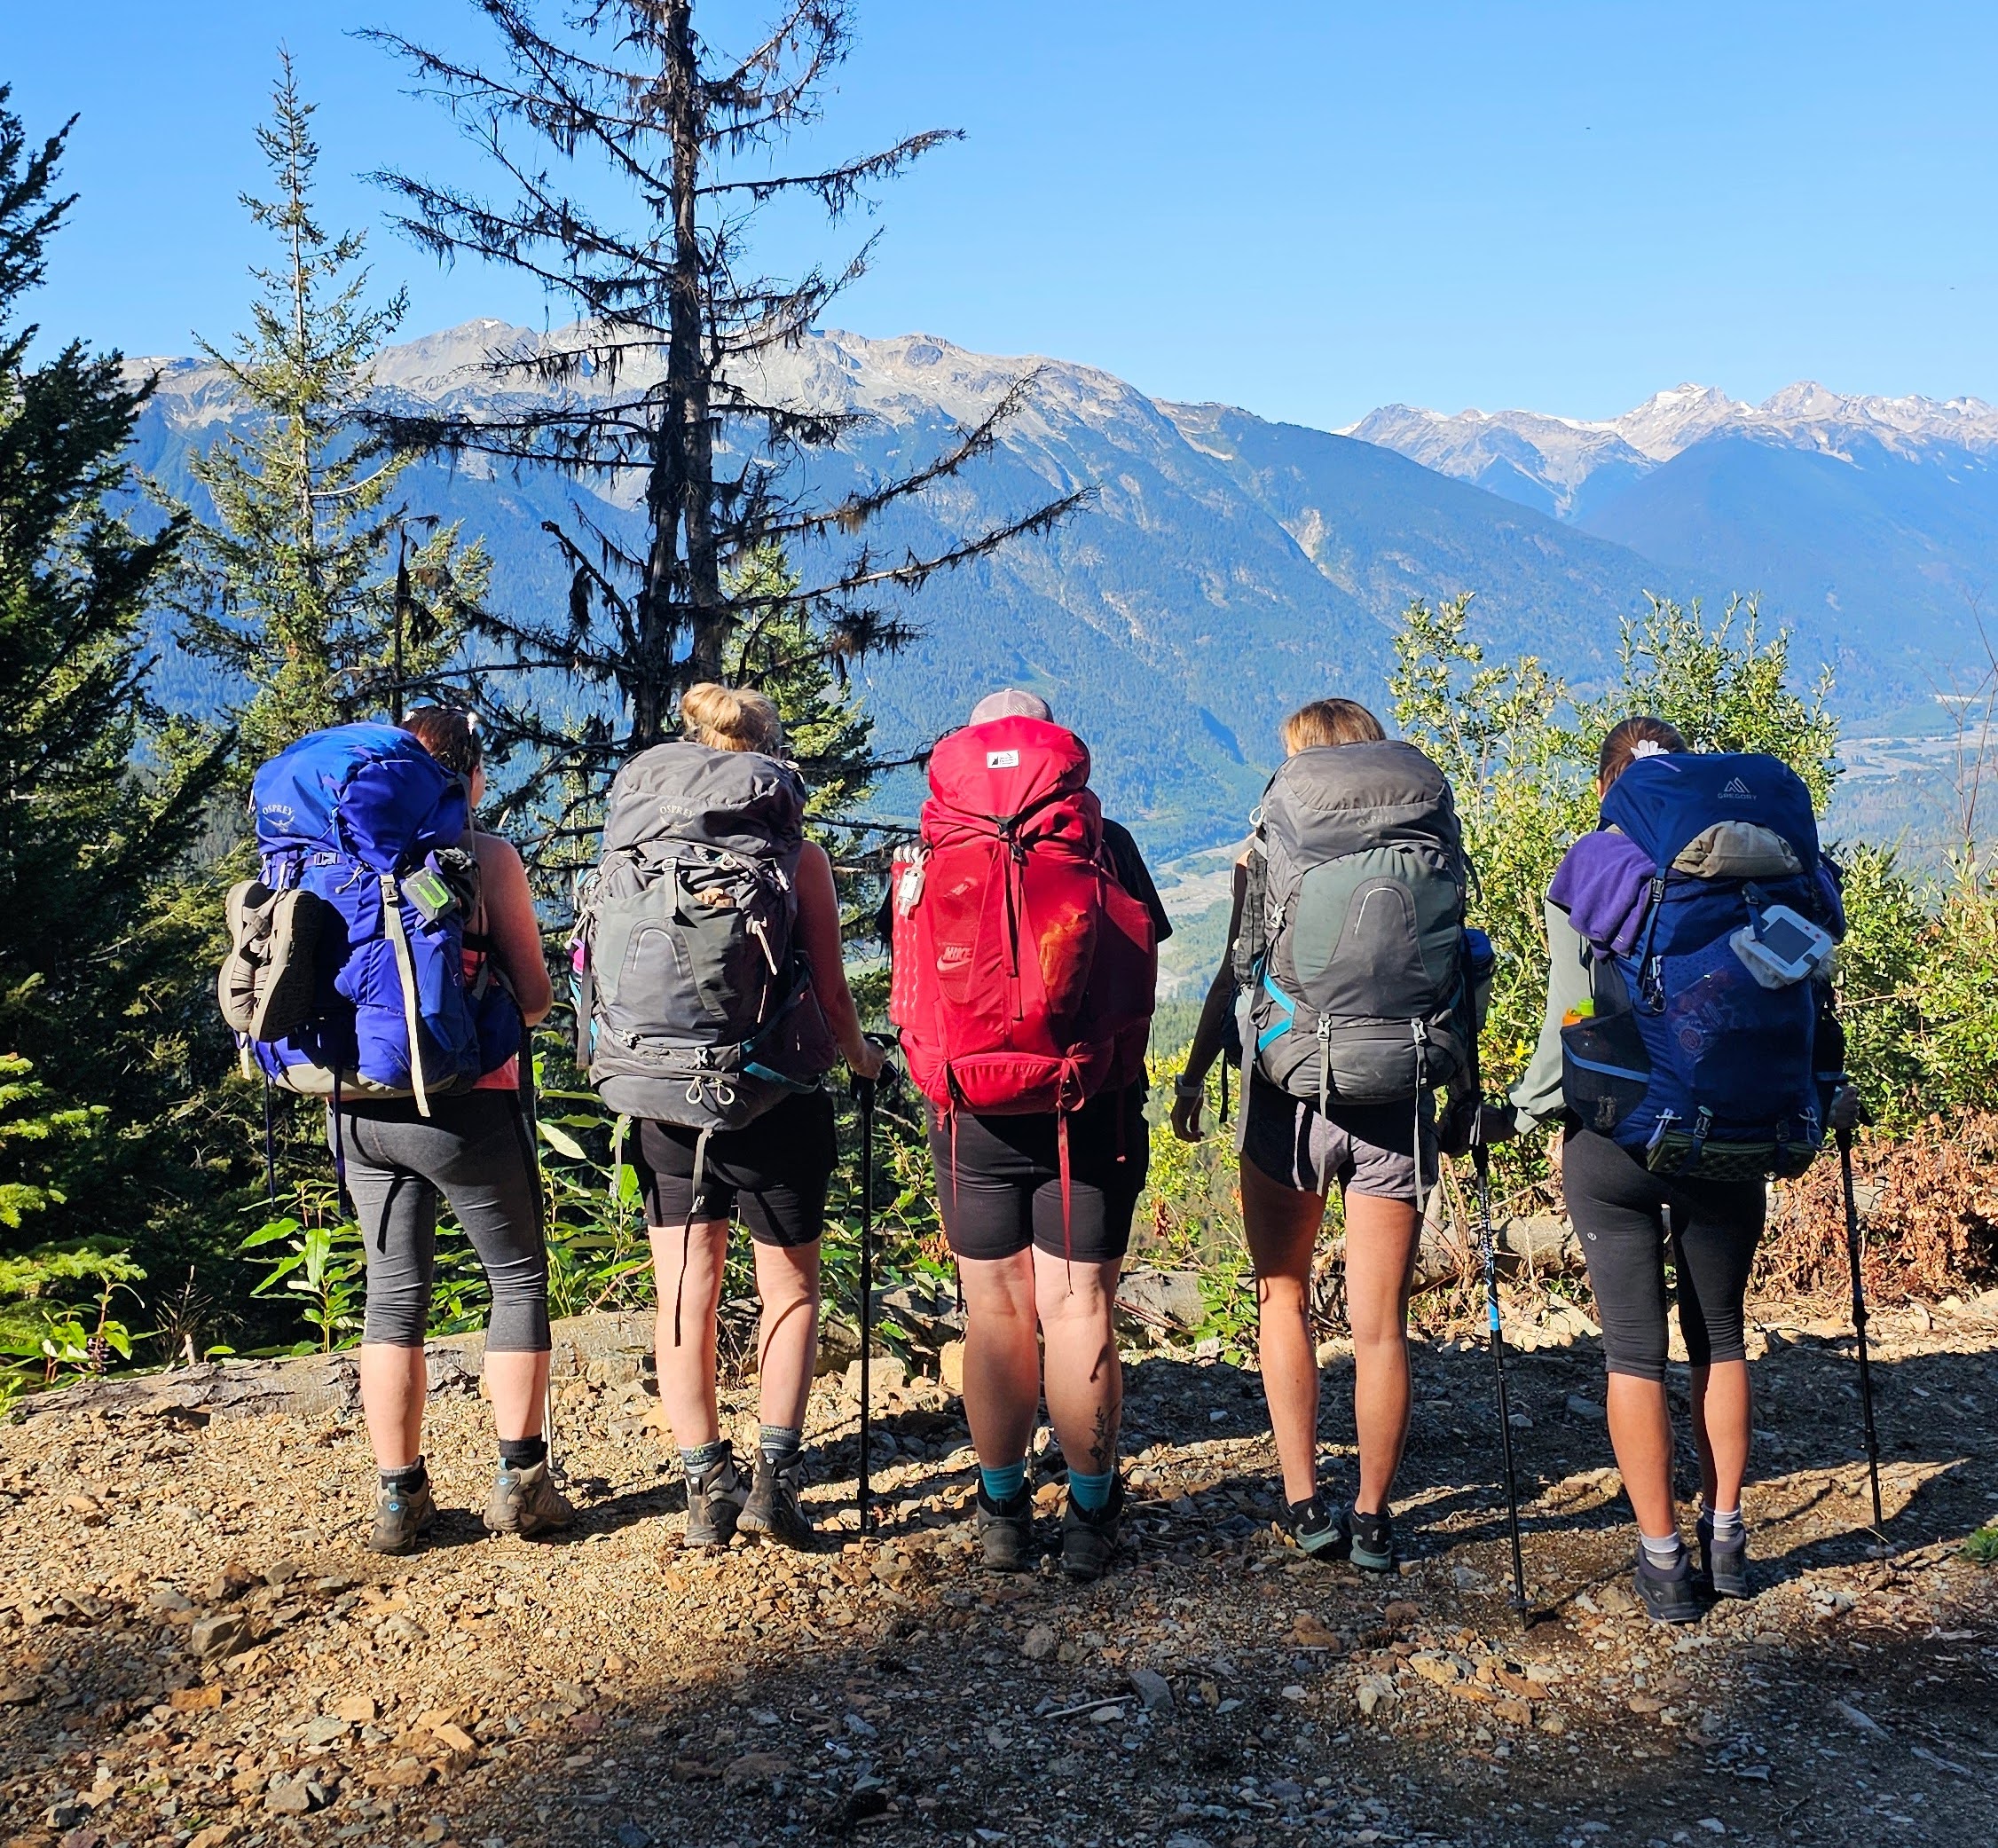
2. Make sure your pack is comfortable
It might not be noticeable when you try on a bag in the store, or throw it on your back to bring it to the car, but you’ll notice if it’s not properly adjusted pretty quick on the trail. I’ve experienced both a 2-day trip with a nagging ache between my shoulder blades, as well as a 6-day trip with no soreness at all! It all comes down to fit. Check out a thorough fit guide, but here are some basics:
- Experiment with tightening and loosening the hip and shoulder straps until you feel the weight of the bag resting on your hips, not your back.
- Don’t pack too much weight for your body mass. Try not to exceed about 20% of your weight (ex: a 150 lb person should carry no more than 30 lbs).
- Remember to take breaks on the trail. Get that thing off your back for 15 minutes while you have a snack and take some photos.
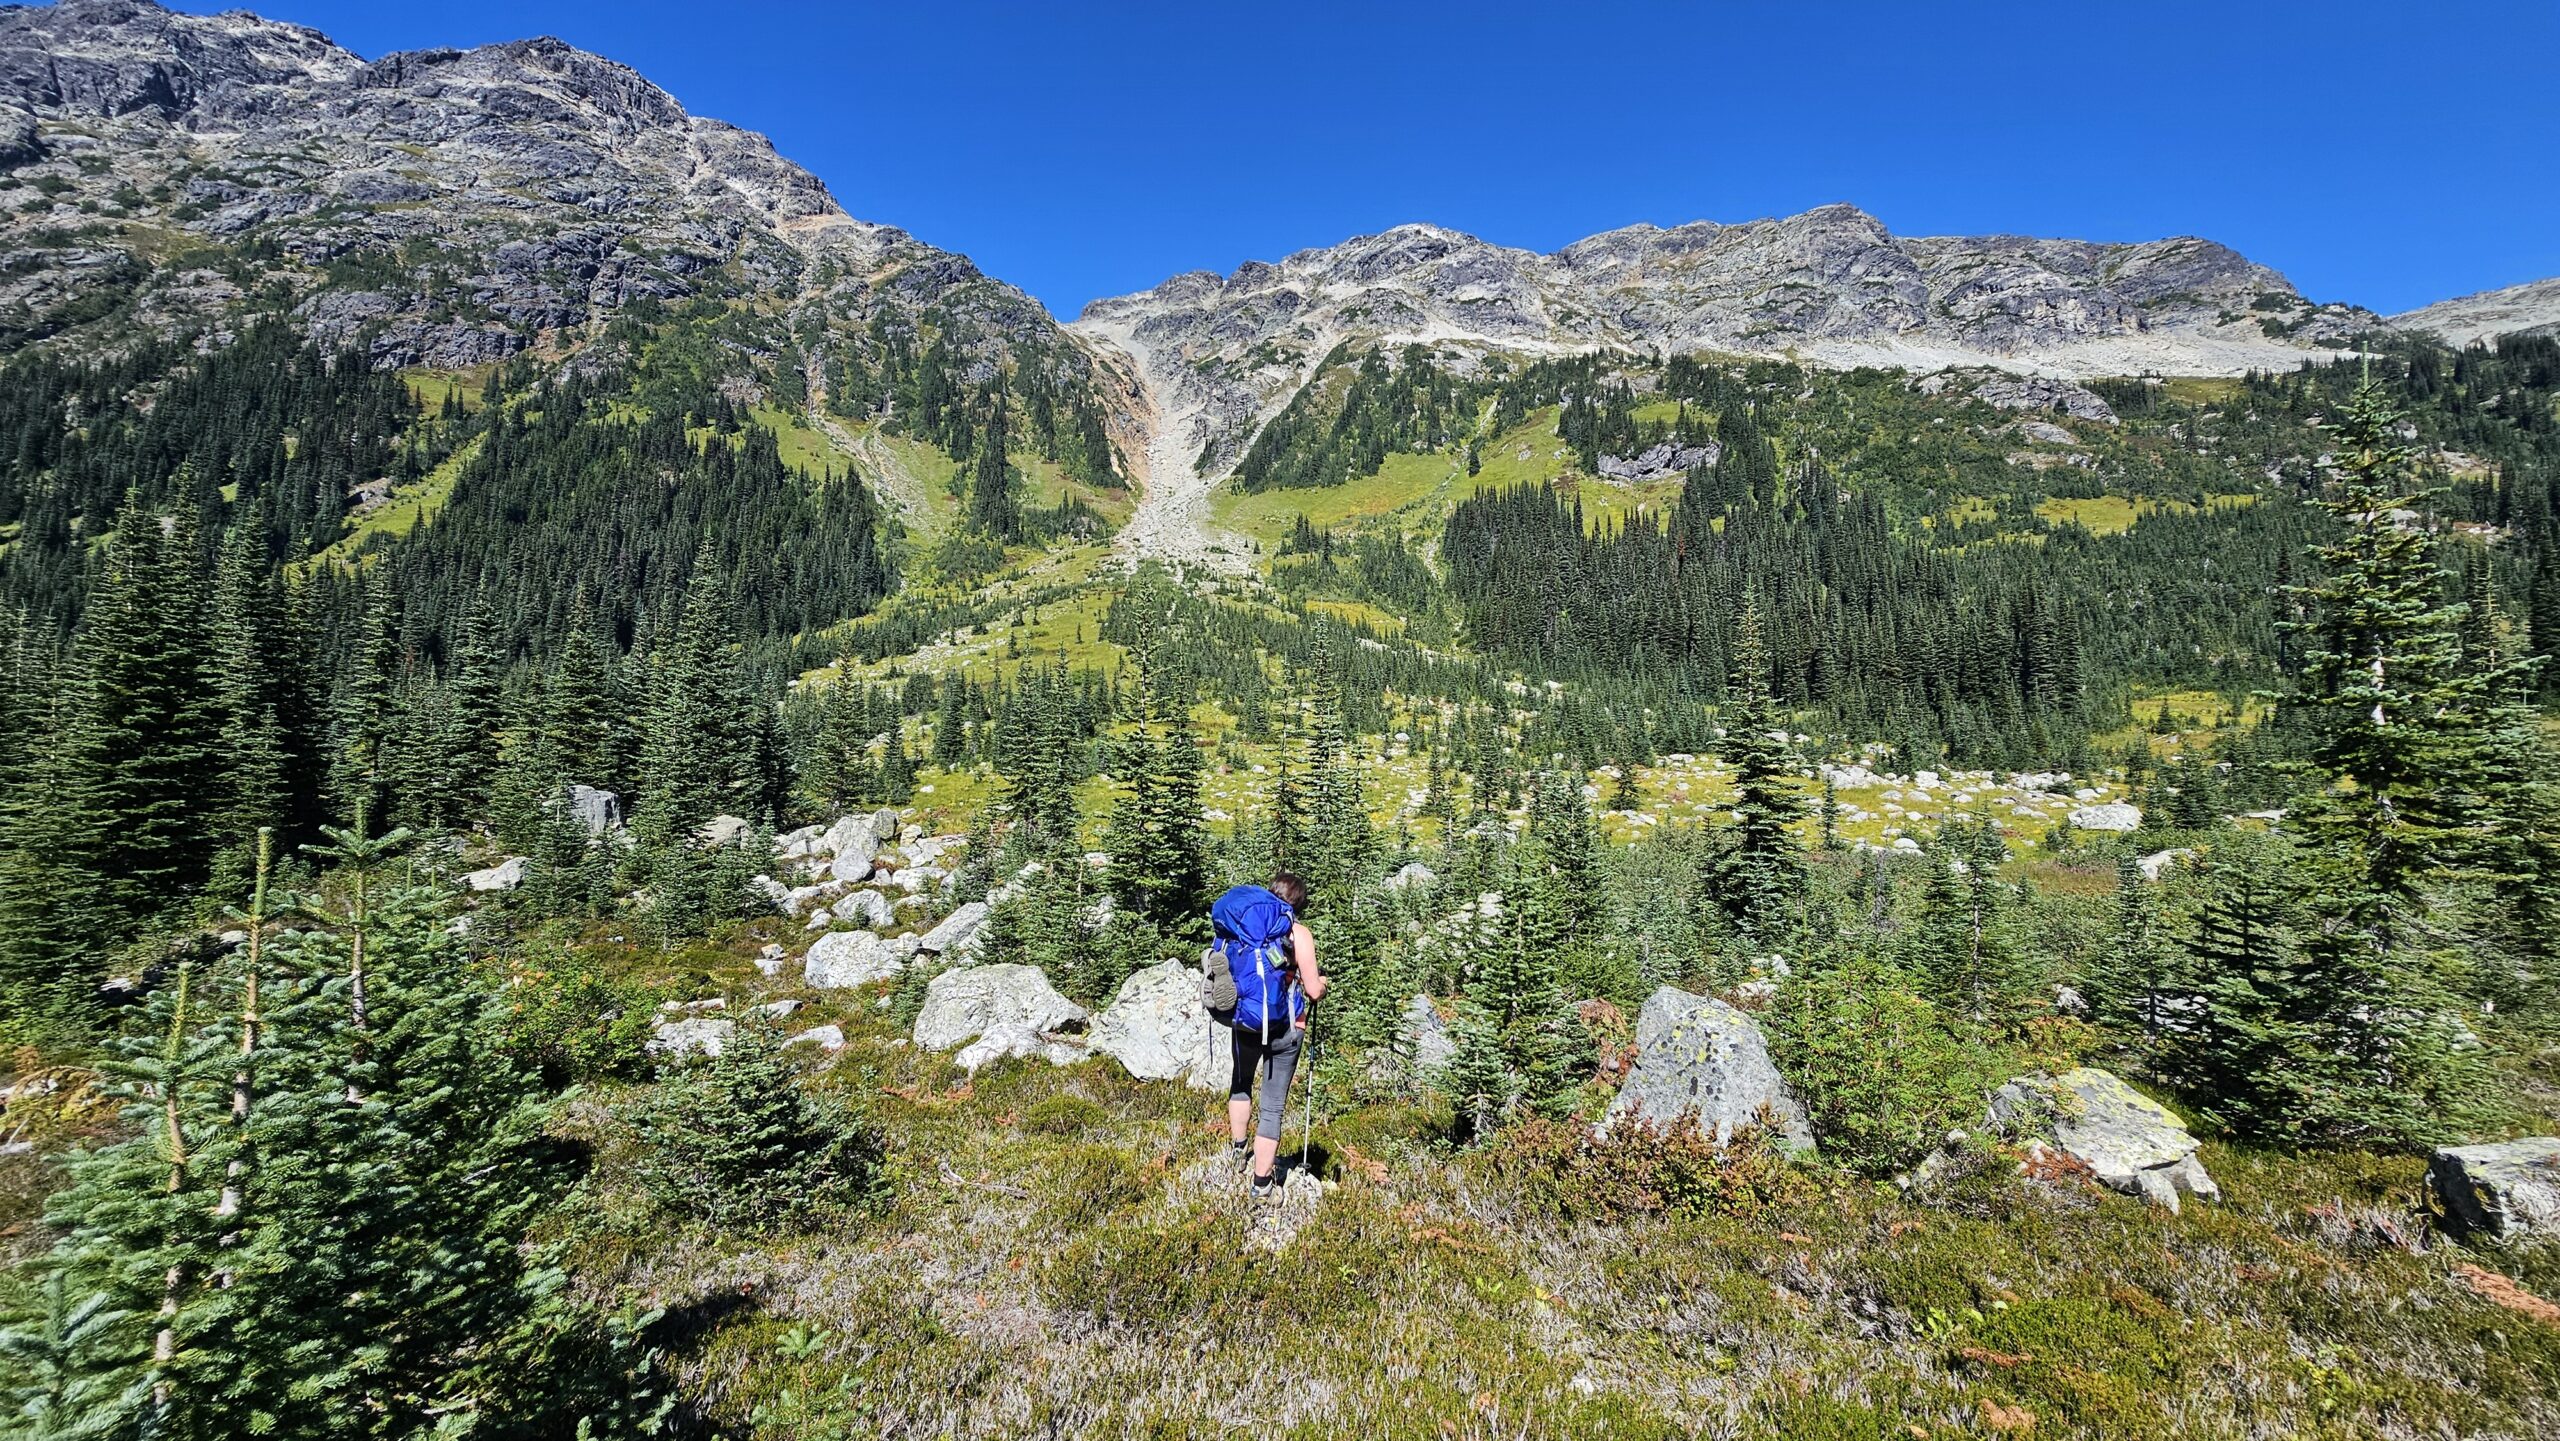
3. Pack strategically
Don’t just shove everything into your bag while your friends are waiting for you in the car! Take some care in tightly rolling clothing, nesting cooking gear together, tightening compression straps on sleeping bags and the pack itself, and balancing your load.
In general, put lighter, bulky items on the bottom of your bag, such sleeping bags and mats, while the heaviest items should go in the center. Save the top for things you might want quickly, such as first aid kits, the 10 essentials, and rain gear. Put things you’ll definitely want while hiking, like snacks, phones, and sunscreen, in hip belt or other easy-access outer pockets.
Avoid the ‘gypsy caravan’ packing style I employed on my first ever trip (everything on the outside of your bag). It’s unbalanced, and you’re asking to get snagged on trees!
4. Keep it light
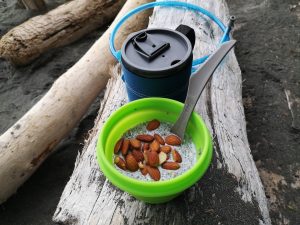
A collapsible bowl, a spork/knife, and an amazing insulated mug are all I pack.
Maybe obvious, but consider each item you bring carefully! What can play double-duty? What can you do without? If you have new gear to purchase, make sure you compare the weights of your different options. Some of my favourite pack-lightening hacks:
- Ditch the camp pillow. Put your boots under the top of your sleeping mat to raise it, or simply use a stuff-sack of spare clothes or a jacket.
- While your old cotton sweater might be comforting, it’s bulky and useless when wet. Choose efficient fabrics, like wool or fleece, for warmth, and consider quick-drying technical fabrics for hiking.
- Bring meals that you can eat in their own packaging to save on dishes. Examples include boil-in-bag pastas and lentils, freeze-dried trail meals, or tuna in a pouch.
- Make your dishes do duty double. You don’t need a pot, plate, bowl, and cup! Consider eating directly from your pot, for example.
- Consider what gear can be shared amongst the group to divide the weight. How many stoves, tents, and first aid kits does your group really need?
5. Pack for the weather
Carefully review the weather forecast for your trip to get some insight into what to bring. Also, check out the forecasted temperature at the elevation of your campsite. 30 degrees and not a cloud in the sky? Skip the rain pants. -10 at 2000 m? Might want to bring some extra layers.
Remember that mountain weather can be unpredictable and fast-changing at best, so if there’s even a hint of rain in the forecast, bring plenty of dry bags (if you have them), or just simple garbage and ziploc bags. They can be used to line the inside of your pack (as most backpacks aren’t fully waterproof), keep electronics and sleeping clothes dry, store trash, and separate your smelly socks.
6. Hiking poles = MVP
I generally don’t day-hike with poles, but, in my opinion, they are an absolute must when you’re wearing a heavy pack. Since you now weight about 20% more, and your balance and center of gravity are all out of whack with that massive lump on your back, poles will give you a little extra power on steep slopes, and lots of extra stability on more technical, rocky terrain.
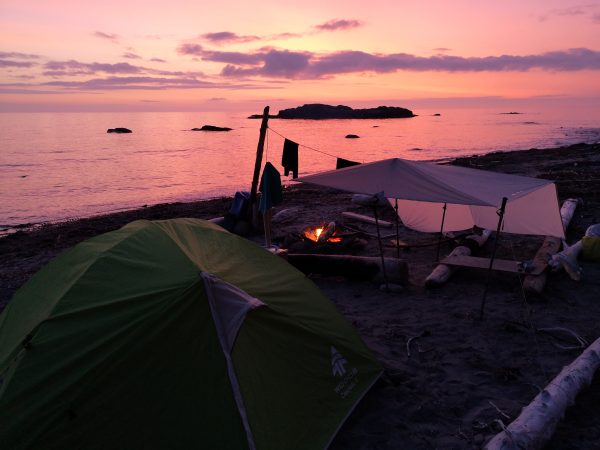
Hiking poles can also double as supports for a lightweight camp tarp in case of rain.
7. Be bear aware
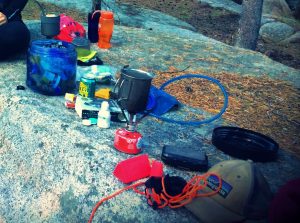
Bear canisters (the round, blue container) are a great option!
If you’re off to a campsite, double check that they have bear caches/trees, and bring a small bag or satchel to store all of your smelly items in the communal cache. If you’re in the backcountry, read up on some methods of hanging your food safely overnight, or consider bringing a bear canister.
Remember that just because it doesn’t smell good to you doesn’t mean it won’t attract a curious bear. You need to put ALL your scented items away for the night, including food, toiletries, trash, and cooking gear that may still have traces of food. This includes even the cloth you did the dishes with! Also, consider cooking away from your campsite – something like 100 m away should do. Lingering food smells could attract creatures.
8. Pack it out
The pristine nature you came out to enjoy will only stay that way if we all take care to take out anything we brought in. This includes TP (bring a sturdy ziploc bag to contain it), as well as soaps and detergents. While you can buy biodegradable soap for use in rivers and lakes, honestly, using none at all is preferred.
Dishes can be done using only water and a sponge (scrubbing with some sand as well goes a long way for stubborn messes). To keep yourself clean, I love moisturizing wipes for the end of a long day of hiking, since they can be easily packed out with your trash. For your lovely locks, you can probably go without, but if you must, a spritz of dry shampoo will help you freshen up.
We all know that the best way to learn is through experience, so cruise the ‘gram, find something that inspires you, pack thoughtfully, and hit the trail!
Which item in your arsenal is your backpacking MVP? Have any must-know packing tips for an overnight hiking trip you’d like to share? Let me hear your words of wisdom in the comments below!
Leave A Comment